- Mini-drafter
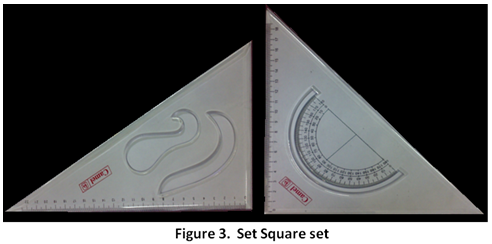
- Set squares
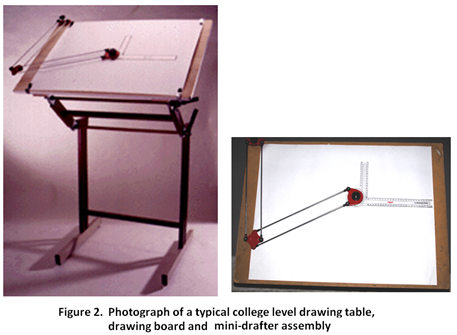
This is a device used to draw parallel or inclined lines very effectively with ease. This is mounted on the top left corner of the drawing board by means of a clamping mechanism which is an integral part of the device. Figure 2 shows the photograph of a typical college level mini drafter.An L-shaped scale which is graduated in millimeters acts as the working edge of the mini-drafter. The L-Shaped scale also has a degree scale for angle measurement. The working edge can be moved to any desired location on the drawing board.
Procedure for clamping the mini-drafter
Set the protractor head with reference mark indexing zero degree, then fix the clamp of the mini-drafter at the top left corner either along the top horizontal edge of the board or along the left vertical edge of the board. With the drawing sheet placed underneath the scales of the mini-drafter, fix the drawing sheet to the drawing board with the scales of the mini- drafter aligned either with the vertical or the horizontal borderlines of the drawing sheet.
Set squares are a set of 45° set square and 30°-60° set-square, as shown in figure 3.They are used in conjunction with each other and with T-square to draw parallel, inclined and perpendicular lines. They are made of transparent acrylic. Each is having beveled edges with engraved mm or inch marking. The 45° set square generally has a protractor where as the 30°-60° set-square includes French curves.